Brain Out 2 Level 119
📝 Walkthrough
Overview
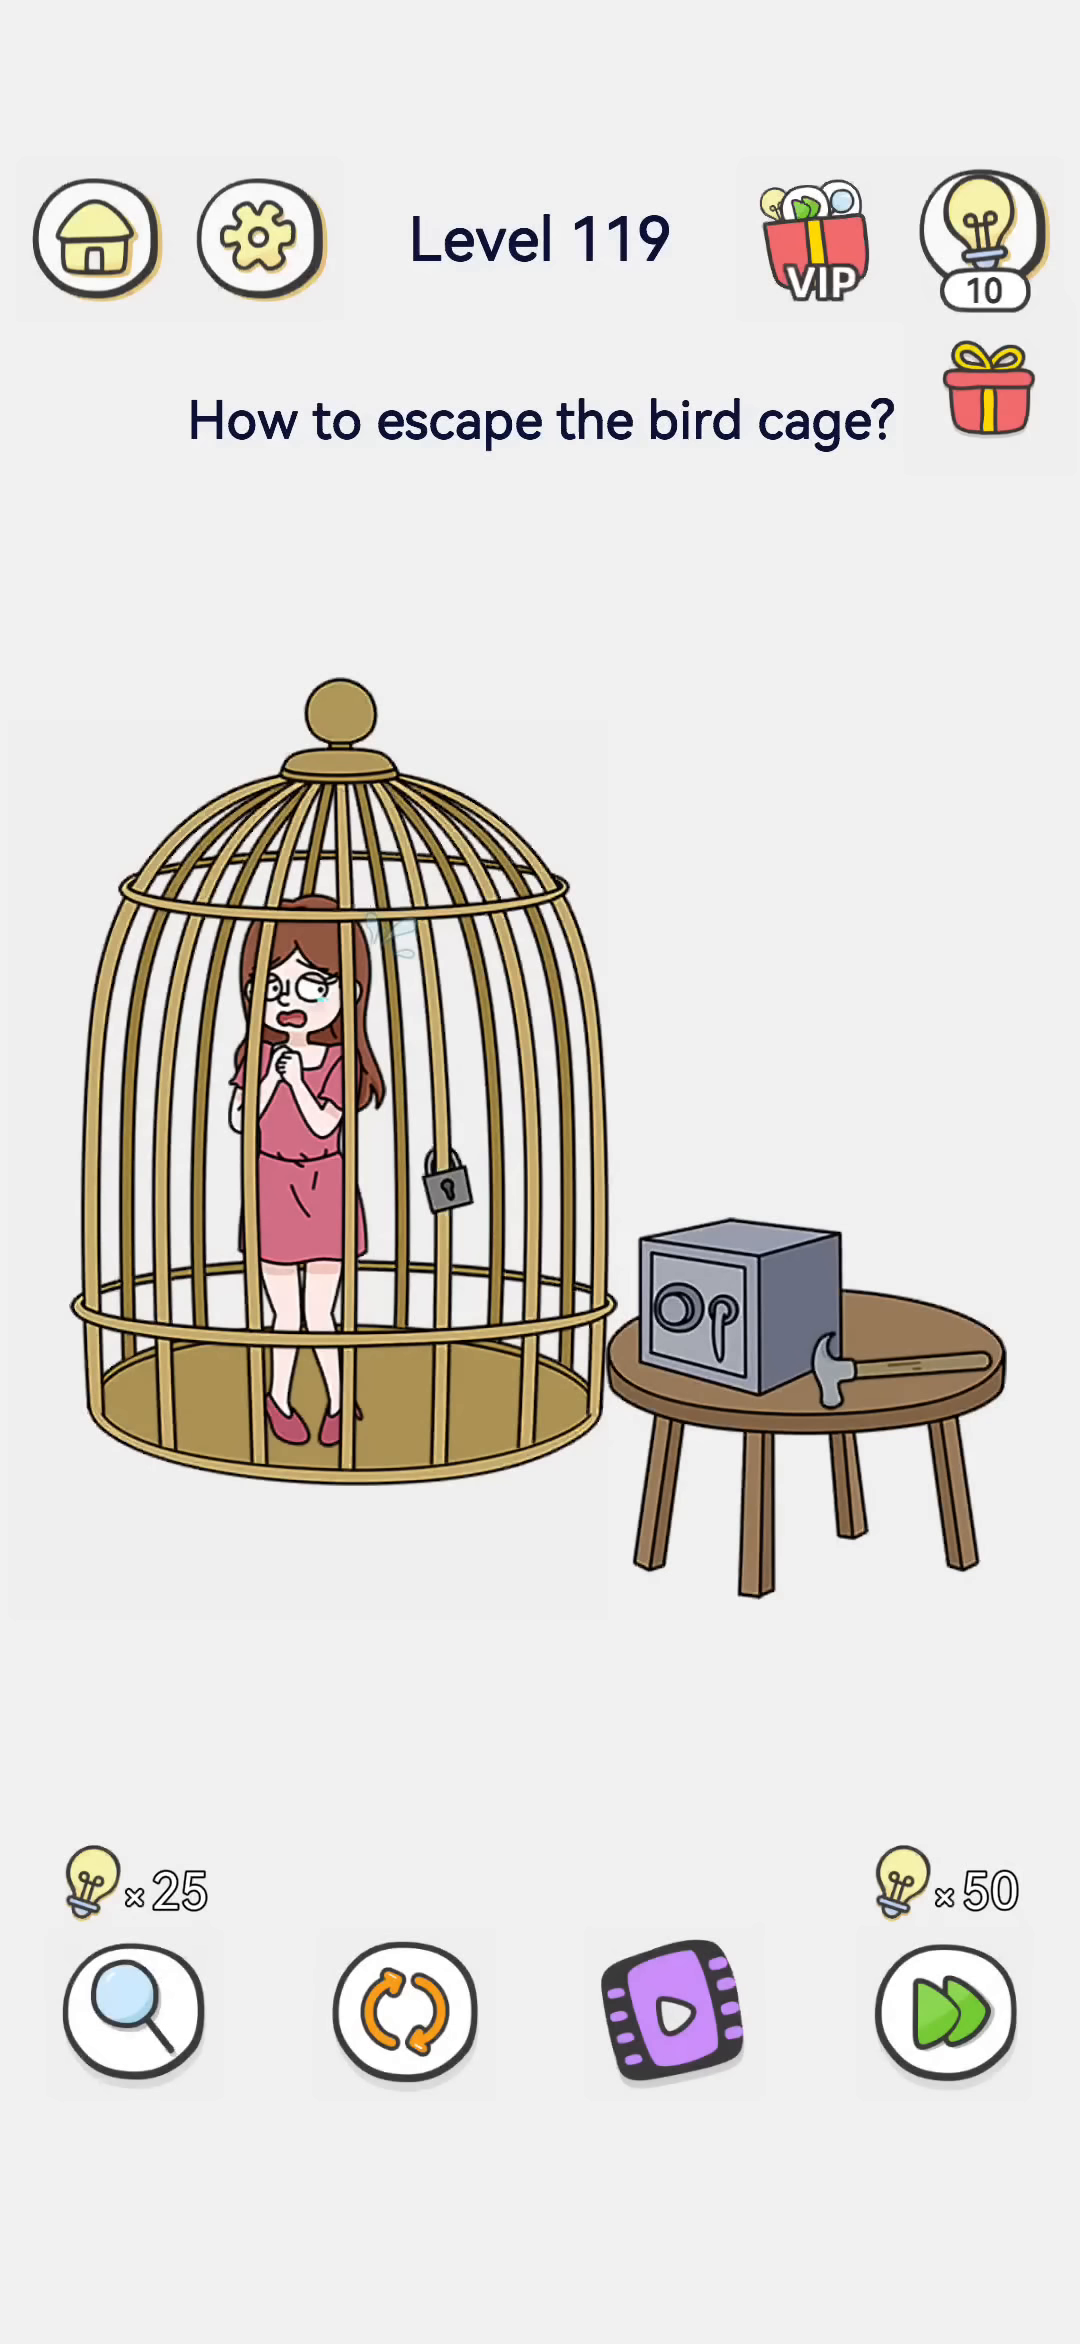
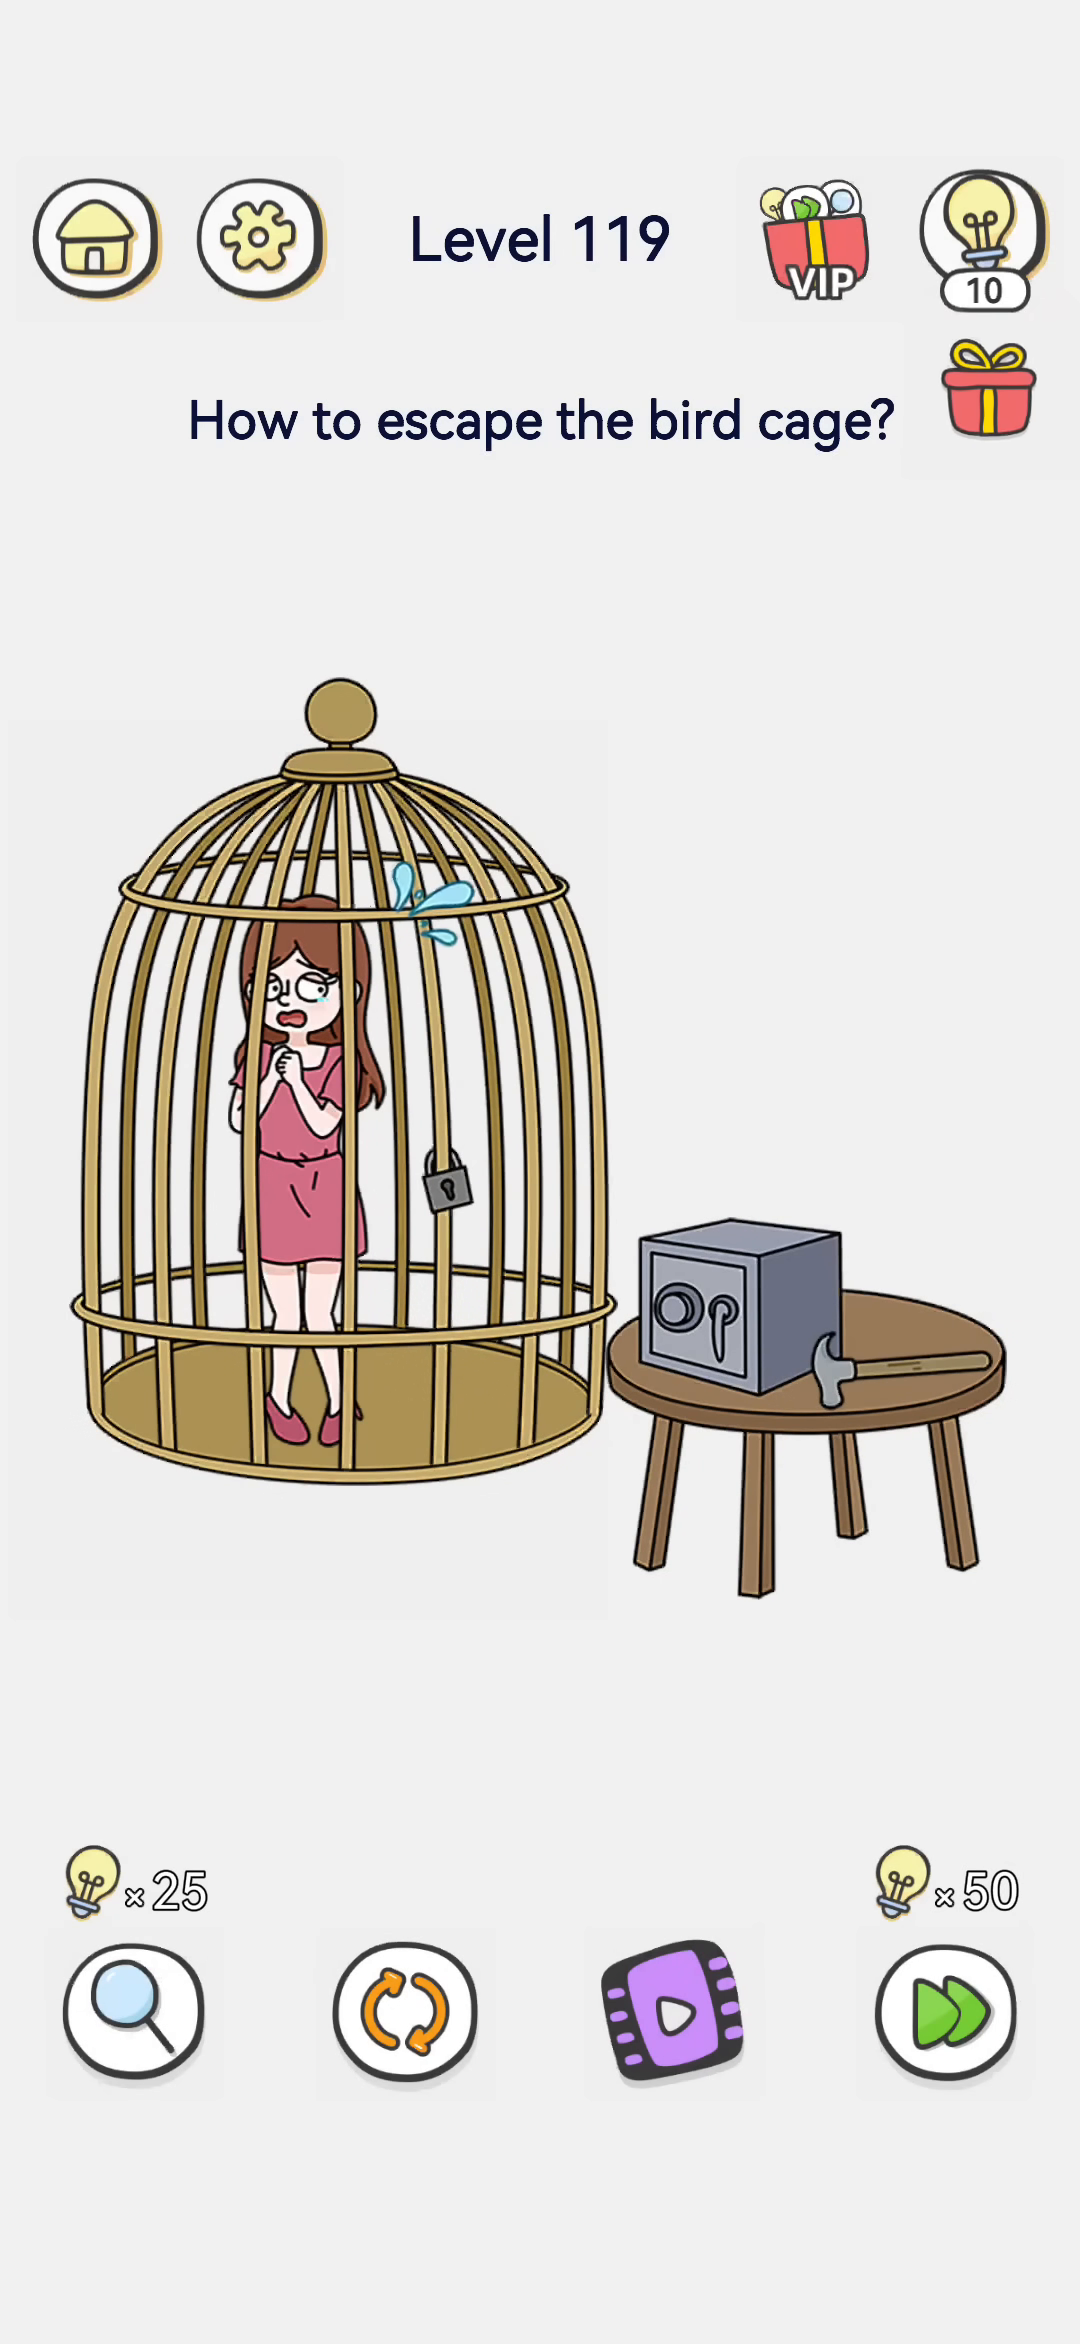
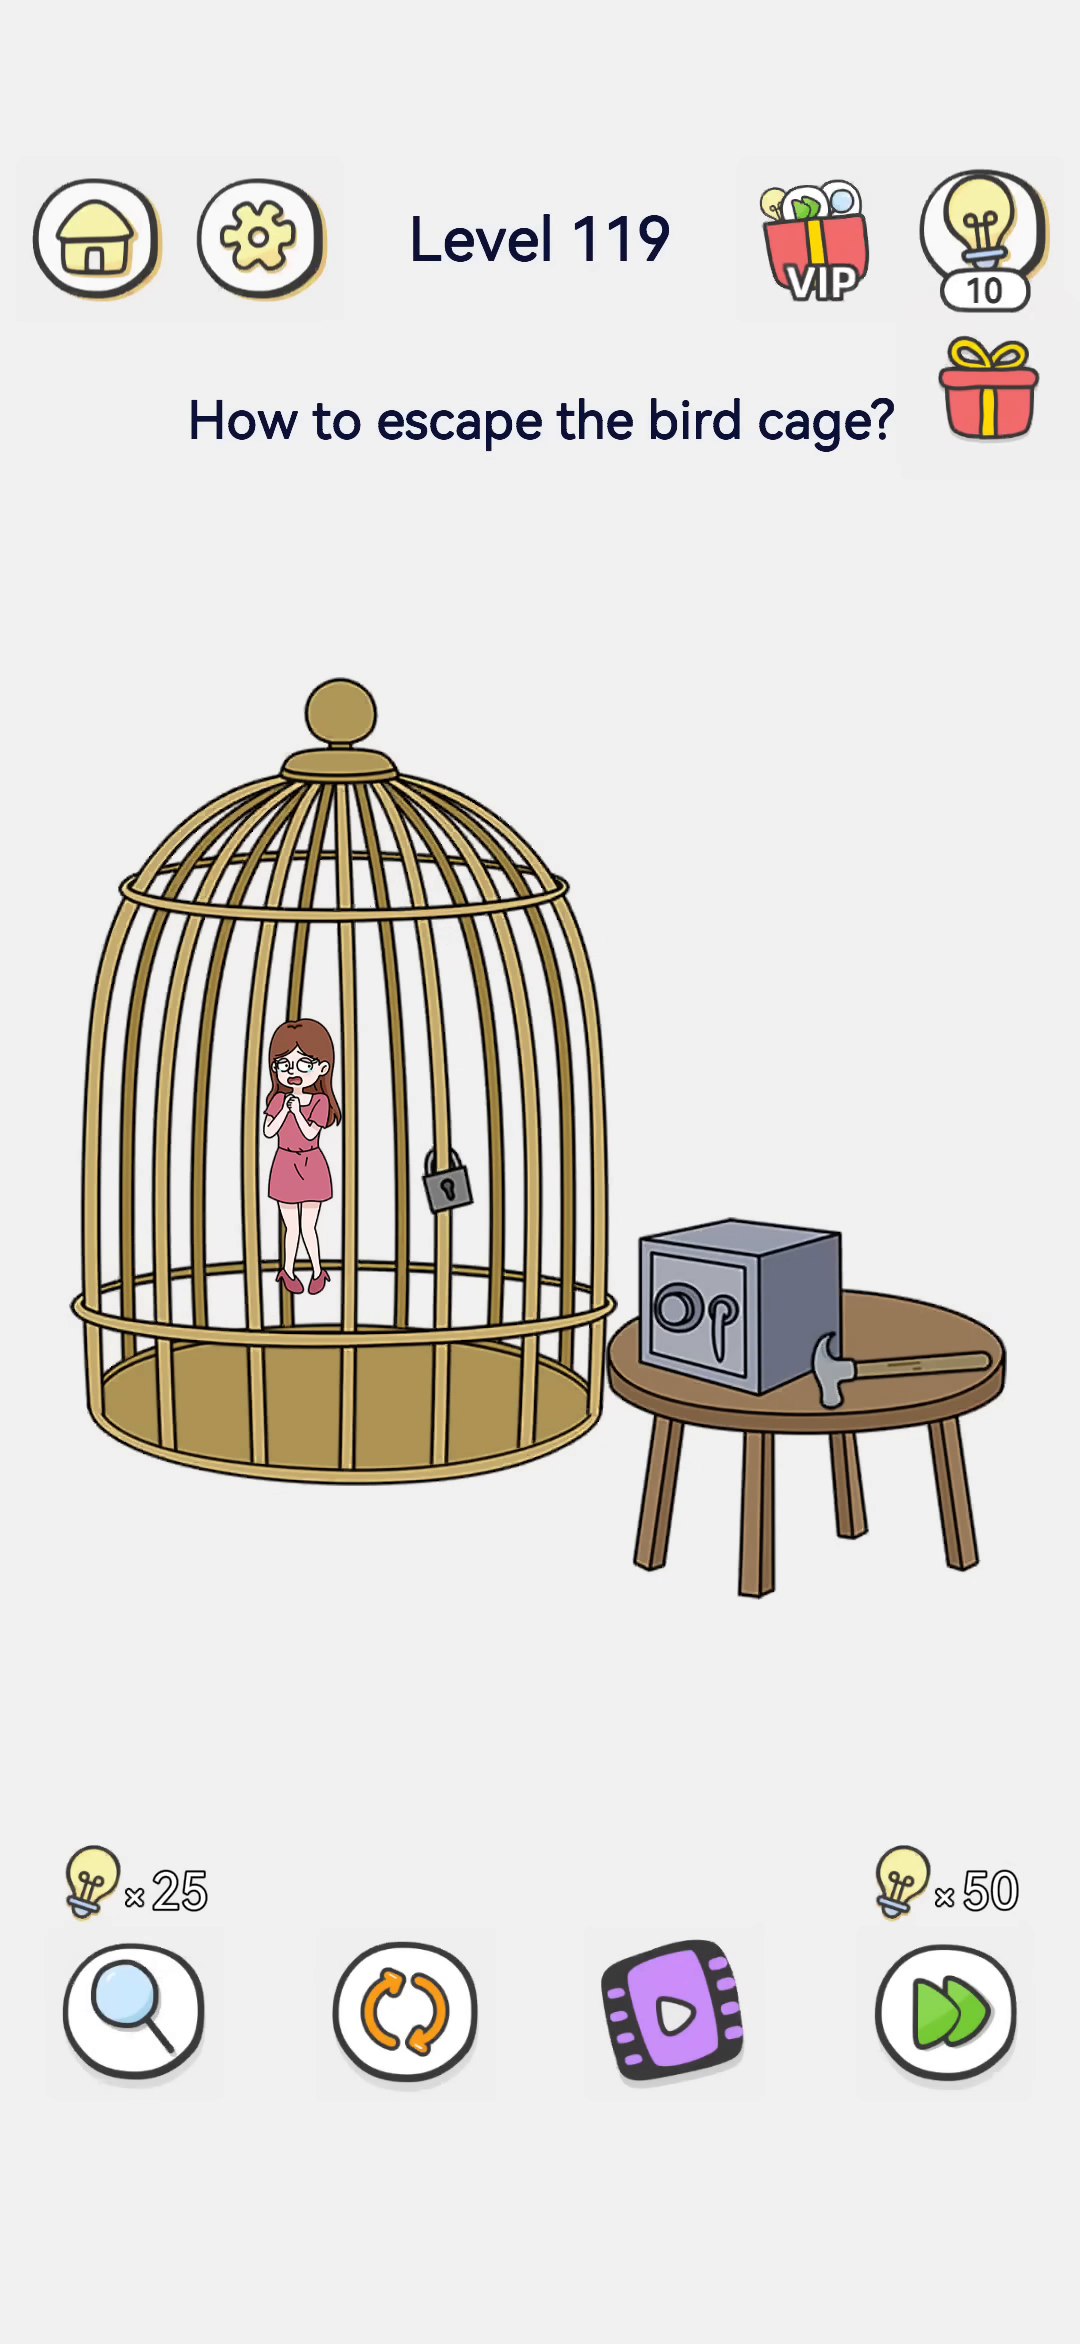
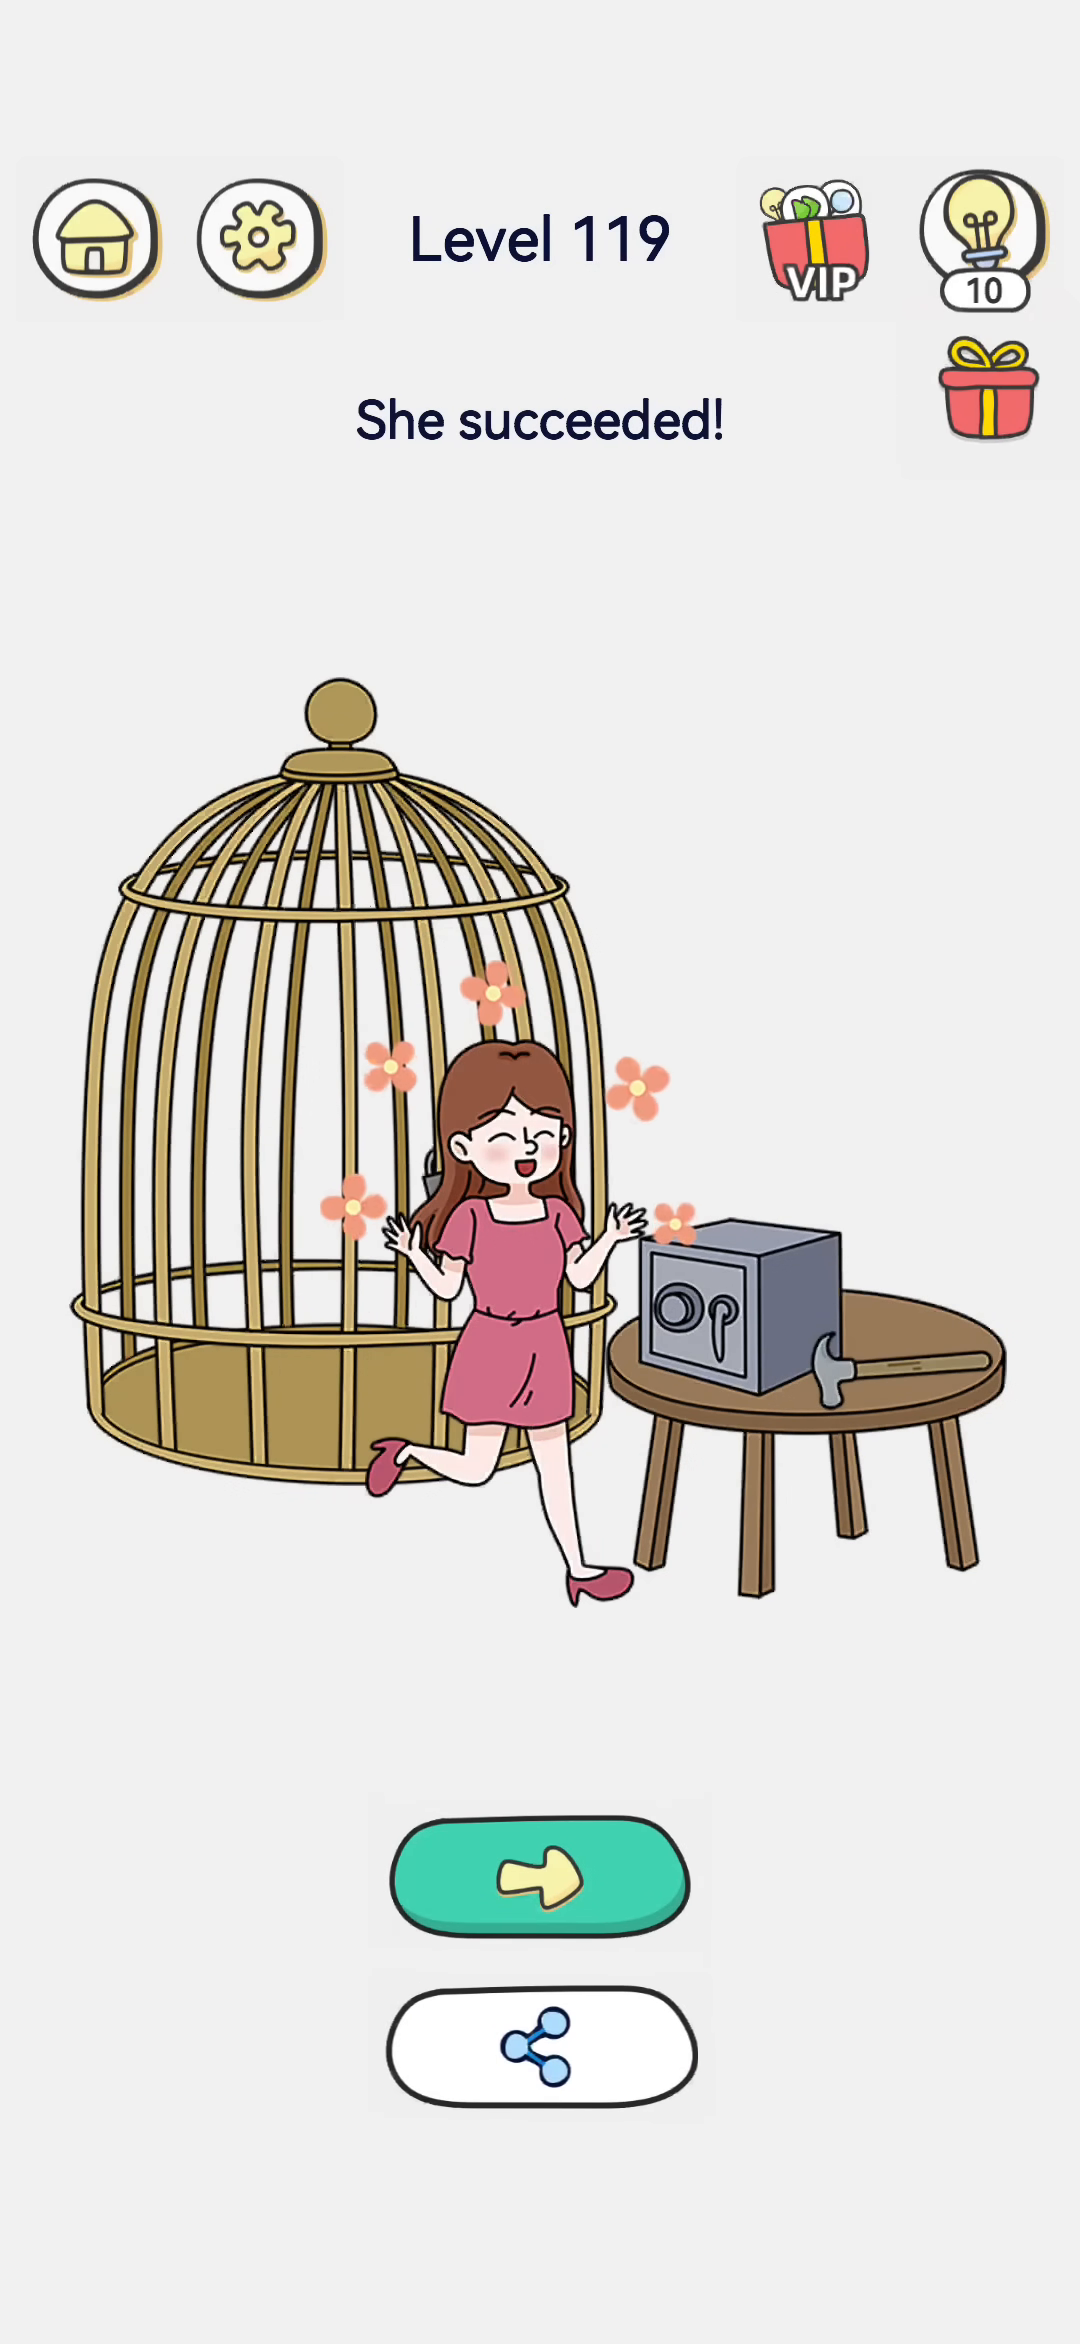
Level 119 asks "How to escape the bird cage?" A girl in a pink dress is locked inside a golden birdcage, secured by a small padlock. Beside the cage, on a small round table, sit a gray safe with a dial and keyhole and a hammer. The victory line, "She succeeded!", shows her walking free out of the cage.
- Difficulty: Regular
- Estimated moves: 2
Step-by-Step Solution
- See the lock. The birdcage is fastened with a padlock, so she cannot simply walk out.
- Look at the table. A safe and a hammer sit on the table — the safe likely holds the key to the padlock.
- Open the safe. Use the hammer on the safe (or open it) to get the key hidden inside.
- Unlock the cage. Use the key on the padlock to open the birdcage door.
- She steps out. The girl walks free out of the cage, flowers around her. The screen says "She succeeded!" and the level is cleared.
Strategy & Reasoning
This is a locked-object chain puzzle. The girl cannot escape while the padlock is shut, and you cannot pick it by hand. The hammer and the safe are the only tools present, so the intended chain is: break into the safe, retrieve the key, and unlock the cage.
The safe is the repository for the key; the hammer is what lets you open it without the combination. Once the key is in hand, the padlock releases and the birdcage door opens.
The humor is that a "bird cage" is being used to hold a full-sized girl, but the escape is still solved like any locked-room puzzle: find the key, open the lock. The lesson is to chain the tools — safe first, then lock.
Tips & Common Mistakes
- Mistake: pulling on the cage bars. The padlock holds the door; the bars will not budge.
- Mistake: hitting the cage directly. Smashing the bars is not the intended path; the key is in the safe.
- Mistake: ignoring the safe. Use the hammer on the safe to obtain the key, then unlock the padlock to free her.
Note: solution steps are based on visible frames only.
Walkthrough Notes
The cage has a padlock, and beside it sits a safe with a dial and a hammer. Smashing the cage directly fails. The solution is to use the hammer on the safe (or on the lock) — the safe hides the key. Once the safe is opened, the key frees the padlock and the girl walks out. The victory line "She succeeded!" confirms it. Compare this with prying the cage bars: they are solid. The hammer is for the safe, not the cage.
Why It Works
The cage padlock looks like the obvious target, but the hammer next to it would only bend metal and not open a small padlock cleanly. The real puzzle is the gray safe on the table. The safe likely stores the cage key, and the hammer is used to force it open or smash its dial. Only after the safe yields the key can the padlock on the cage be undone. The order matters: deal with the safe first, then the cage. The girl walking free at the end confirms the key was inside.
Key Frames